|
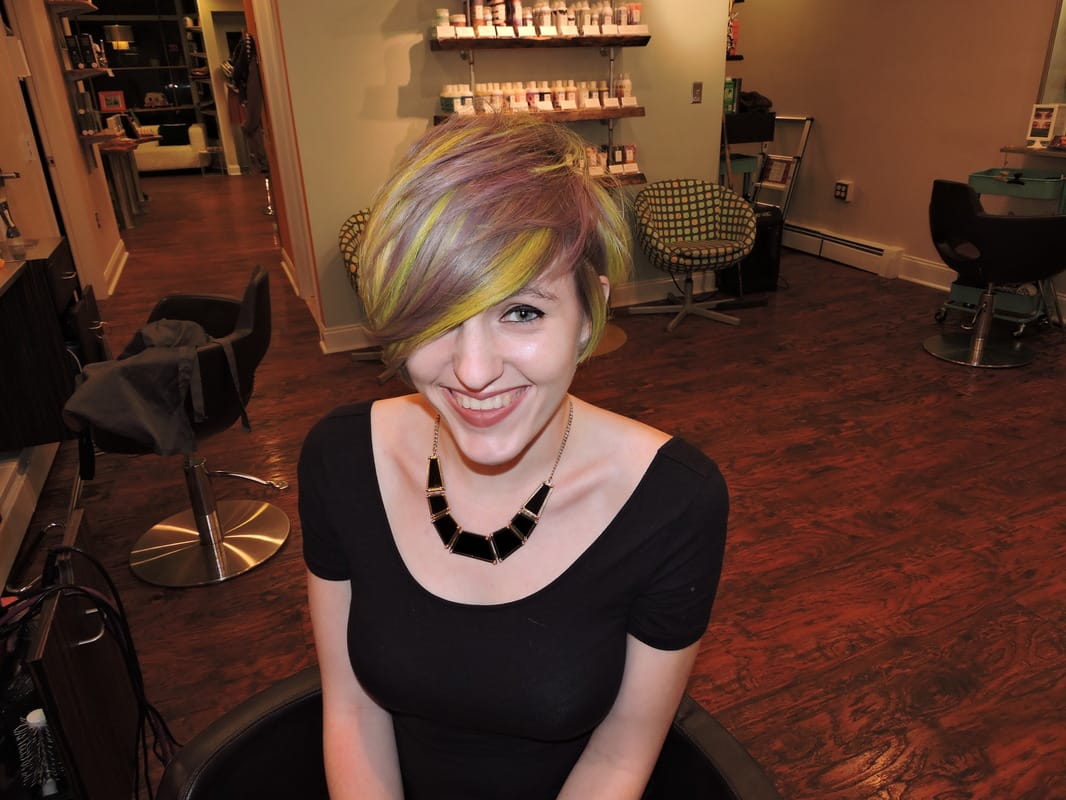
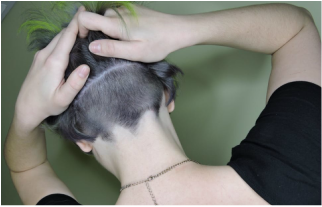
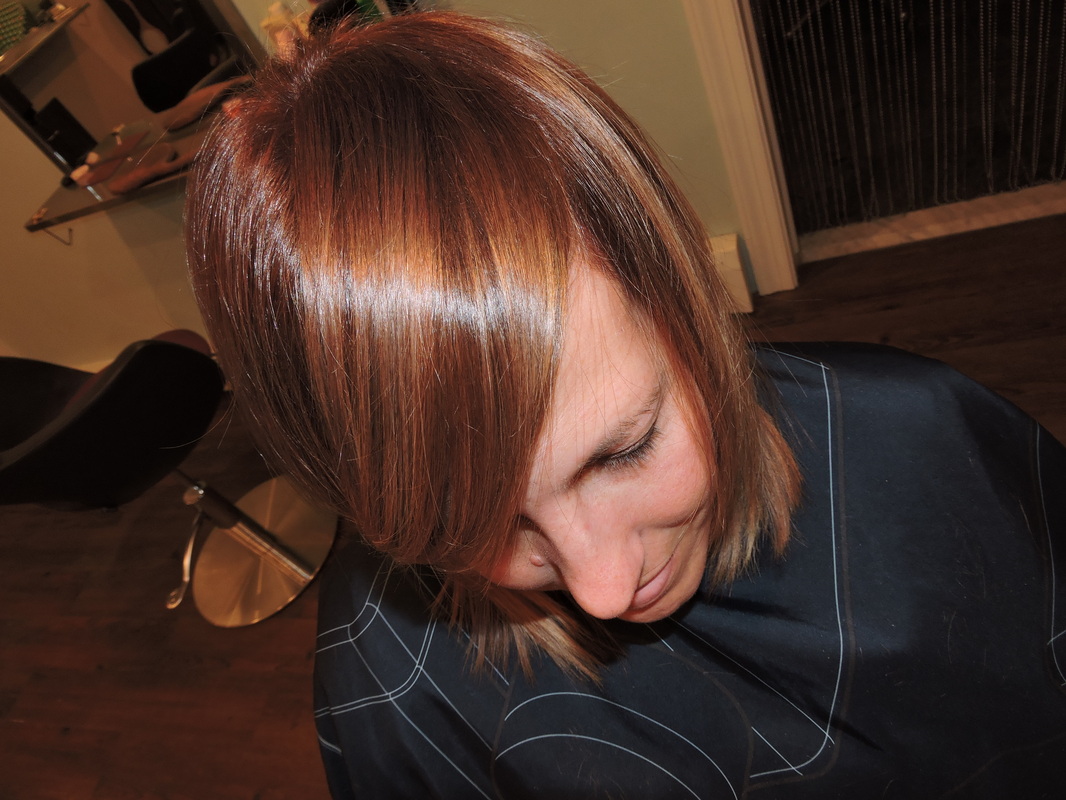
If you are a hairdresser and enjoys creating beautiful hair color, you should enter Kenra Profesional's Neon Hair Battle. The deadline for enrty is January 1st 2017. I will entering the #neonhairbattle #neonmania contest. This is the first contest I've ever entered. I love that this gave me the opportunity to be creative while using Kenra Creatives Neons. My model Hilary was a doll. This whole process took about 6.5 hours including an hour of just photos being taken in different lighting and areas of the salon. Below I will share before and afters and how we achieved this look.
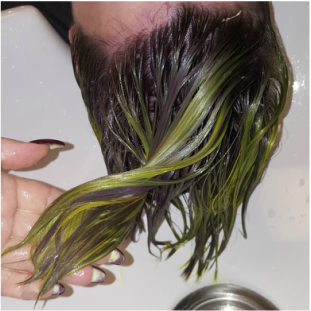
My model had about 2 inches of new growth natural level 6 and previously colored Mids to ends level 6 with previously lightened underneath. First I clarifyed her hair to give us a clean slate and then cut her hair. Next we started the lightening process we used Kenras blue violet lightener with 30 vol on ends first, following with 20 vol on her new growth. Adding Olaplex in all formulas.
2 Comments
 Over the summer I attended a Creative cutting class taught by Ivana and Mario. The two of them are a power team from Croatia and have been cutting hair together since they were young. They have an academy in Croatia which is also where they live and work on their clients and educate students on their cutting methods. They now have been traveling all over the world to bring their creativity and inspiration to us. Right when I saw they were coming to New York I knew I could not miss this opportunity to attend their 3 day creative haircutting class. I have to say $1500 might be the most I have ever paid for education, but I knew it would be completely worth it. The class was held at the KMS/Goldwell academy located in the meatpacking district in New York. The first day was a look and learn, Ivana and Mario had two models each and walked us threw their thought process and layout of each model's haircut. They also use head sheets to map out their sectioning pattern as well as overall shape and vision for their haircut. Ivana said she even uses the head sheets for her clients and keeps a record of them. After learning many tricks from their demonstrations we got to test them out ourselves over the next two days. Excitement!! Bmac scissors were also there and had a table set up with their best shears. I had to purchase their BC 5'' scissor. I did not have a 5'' detailing shear in my collection so of course I needed it. This is also the shear the Zgat team was using. They are probably the sharpest scissor I have ever used and you can detail with such precision. If you are going to be doing any strong geometric shaped haircuts you need to get yourself a pair. So after the first class day I am already so inspired and can not wait to see what they have in store for us over the next two days. On the second day we arrive to the academy and discover two rows of stations set up with our names on them, manikin heads, manikin stand, and a head sheet on our mirror. At this time we set up our kits. Next they delegate Mario to our side of the room and Ivana to the other. Our side of the room gathers around one of the students manikin heads as Mario begins to show us how to properly find the center part of the head, section and prepare properly for our haircut. This was very challenging for me, but I was determined to get it. Finding the center of the head is very important, because the slightest bit off could affect your whole haircut. They explain how mapping out your haircut was one of the most important things when creating a strong shape. After we had out heads sectioned correctly he checked each one making adjustments if needed. Then we gathered back around the first students head. He illustrates what his next move will be on the head sheet and then cuts in the first guideline to the haircut, then Mario moves on to the next student's head and does the same. As he moves through each head We are discovering each of our heads will have a different shape at the end. I really enjoyed this method because we were able to not only learn the two haircuts we did in those two days, we also learned from each student's haircut as well but in a more visual way. We literally spent 6 hours on each of our haircuts, This was amazing! If only everyday behind the chair could be so magical. At the end of the second day Mario showed us how he likes to photograph his work. Everything Mario does is so calm but with such passion. On the second day of the class as we are arriving and setting up our things, we discover our side of the room would be with Ivana today. I love how they let us get a taste of each of their teaching styles. They are both very different educators but together are a perfect harmony of passion and creative vision. Now we are working on a new manikin and we are still all creating a different shape but much more creative and abstract then the one I completed the day before. I was so excited to learn their method of creating an internal undercut, the hair just melts from short to long unbelievably. Also I learned that tilting the shear makes such a difference when creating a very strong line in the fringe area. I probably cut that curved fringe for hours. It's so easy to get lost in you work when there's really no time restraints. After each section we cut we would wait for our instructor to inspect, adjust and move on to the next section. As we move through the head each section is a surprise so we didn't even know really what the end result was going to be until we started getting to the end of the haircut. I also like this method because it forced us to be in the moment and focus on that one task. Also the mystery of surprise is always refreshing too. They also showed us their flat iron method as well as styling. Their kits are very simple they only use one shear, yes one shear. I could not believe this, me on the other hand have so many tools in my tool box, with that being said it was very nice to keep it simple. As the end of our inspiring three days came to an end we were all sharing our experiences and finished haircuts with each other. We all come out to the outside area of the academy, the view was just beautiful and weather was great. The Zgat team congratulated us and gave us our certification for completing their Creative Cutting course. And then it was over sadly, But I could not wait to get back to the salon and use my new Bmac shears and new techniques I have learned. My first day back to work I was completely booked but still decided that I need to try my new discoveries on every client, which then lead me to being an hour behind. Now realizing I am back to reality and need to practice these methods. But I now have created many looks using the skill that the Zgat team has instilled in me.
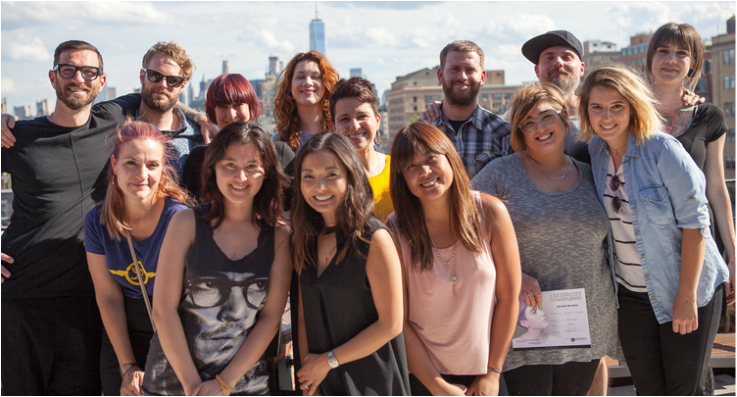
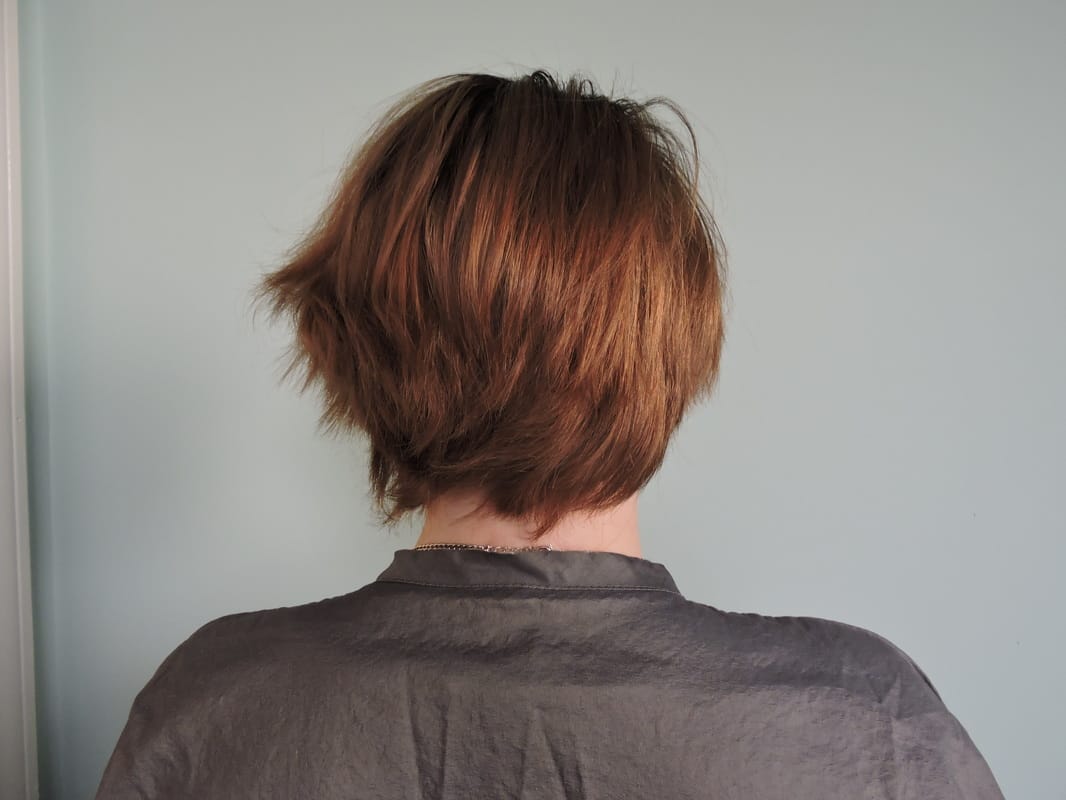
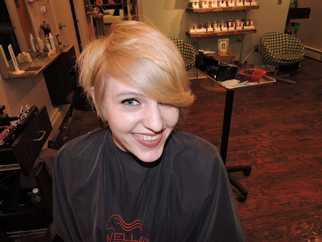
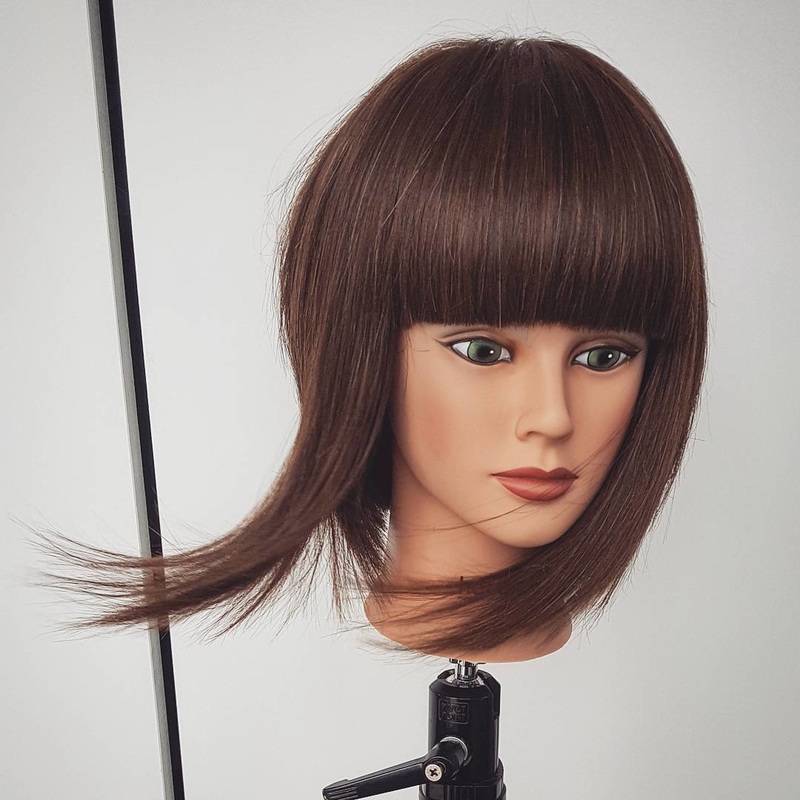
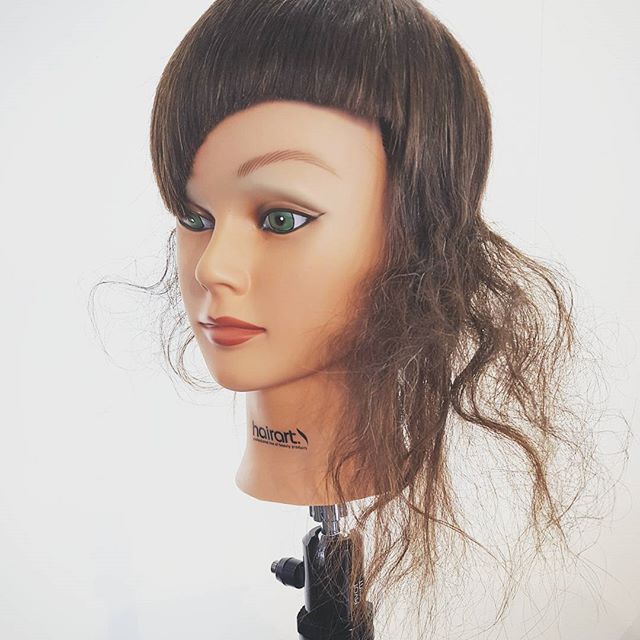
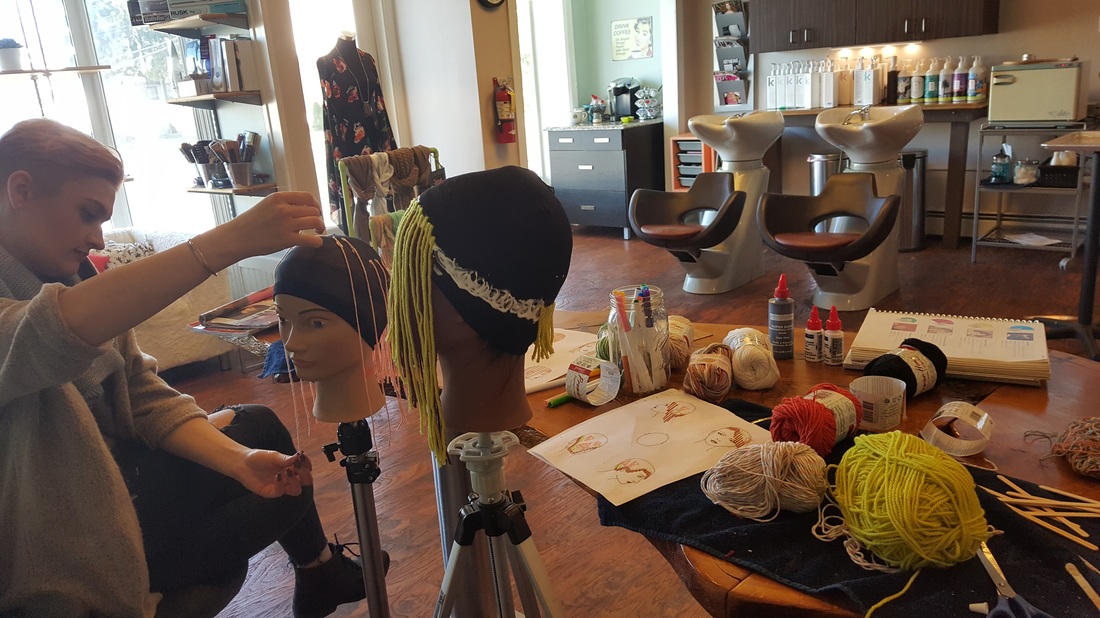
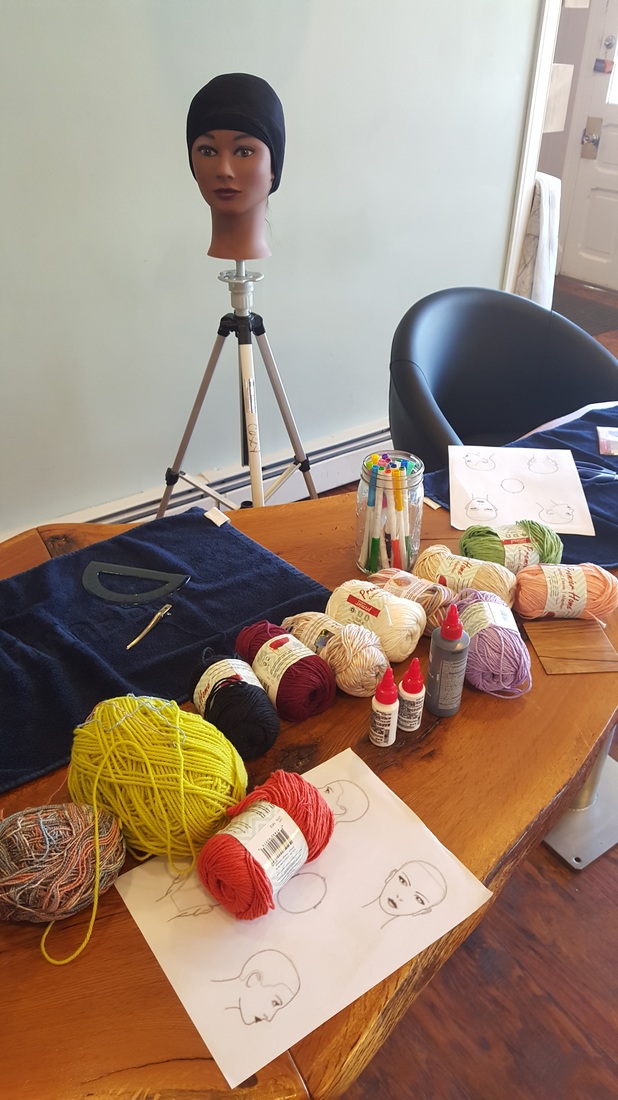
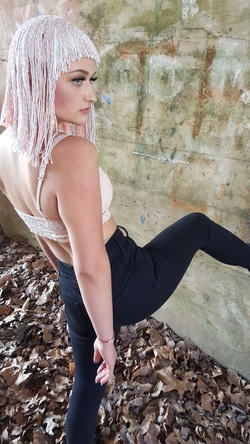
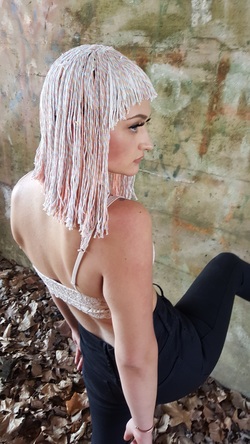
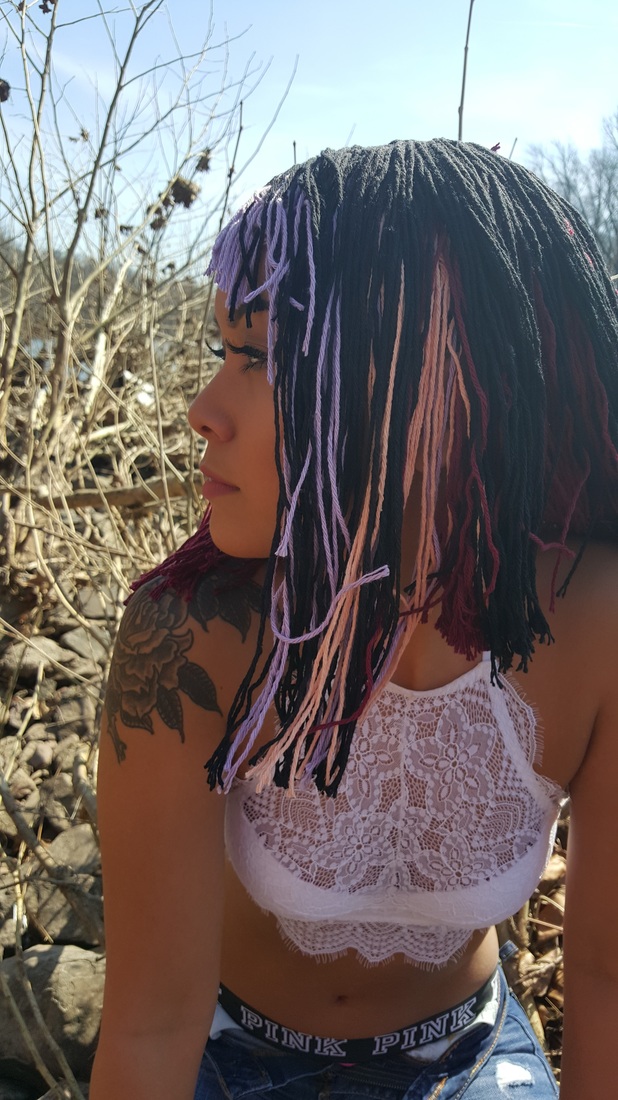
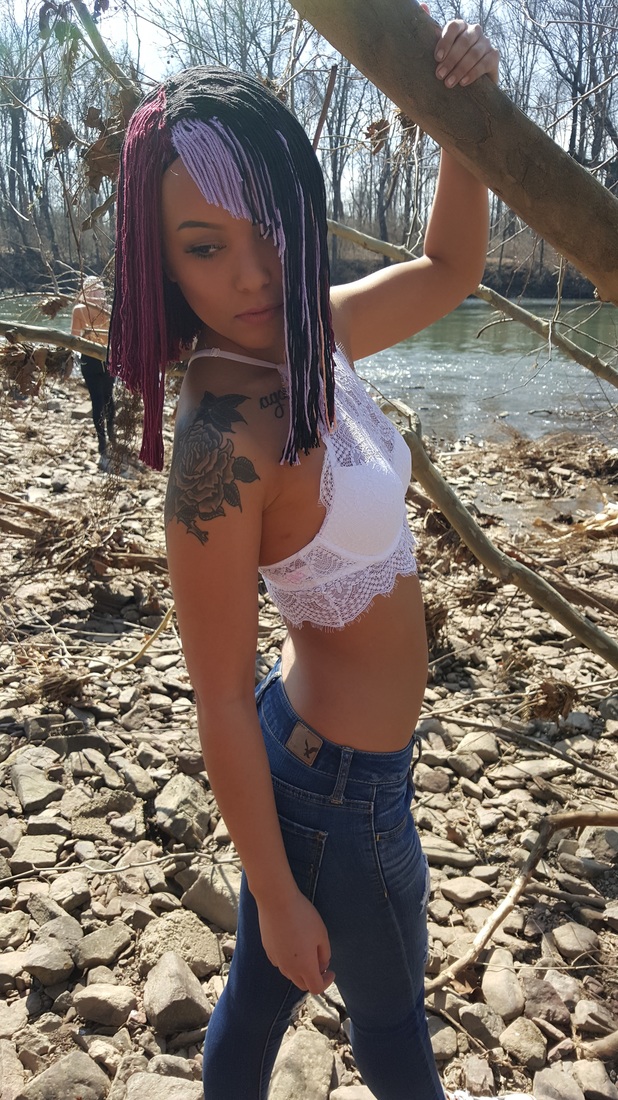
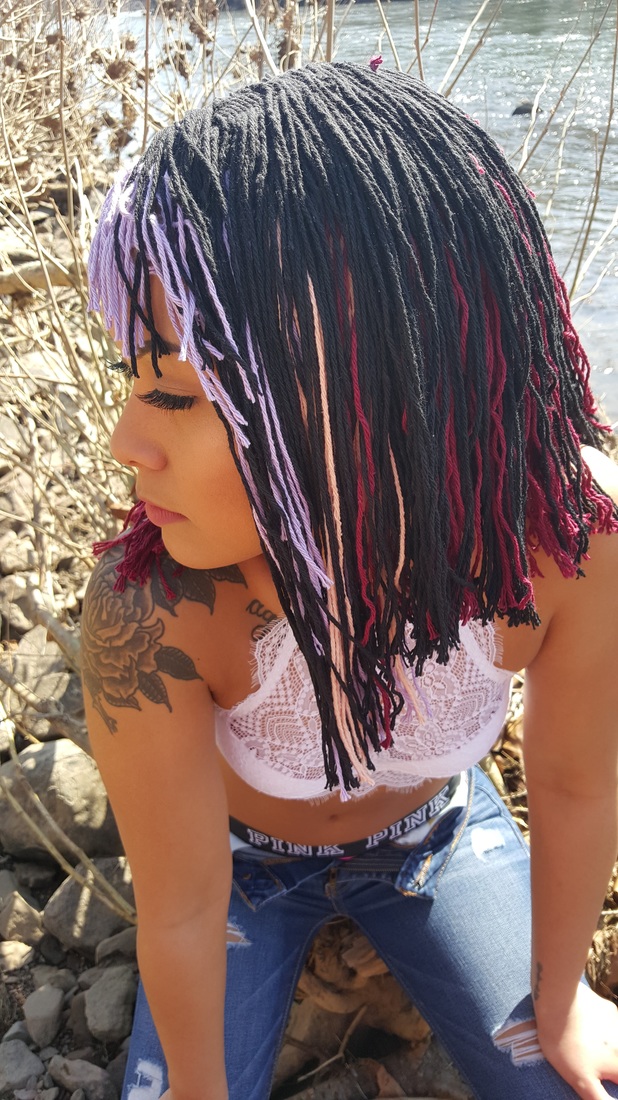
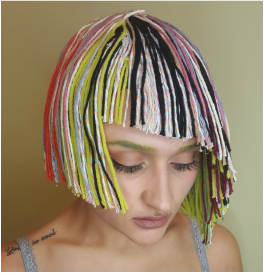
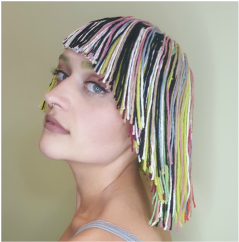
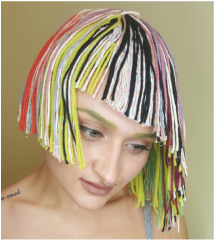
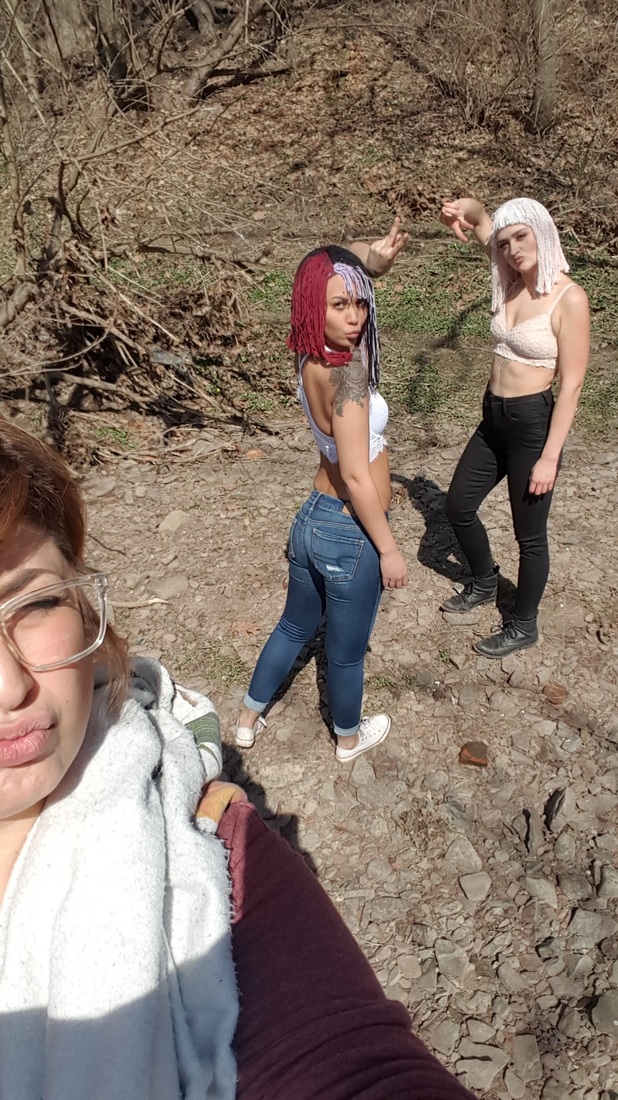
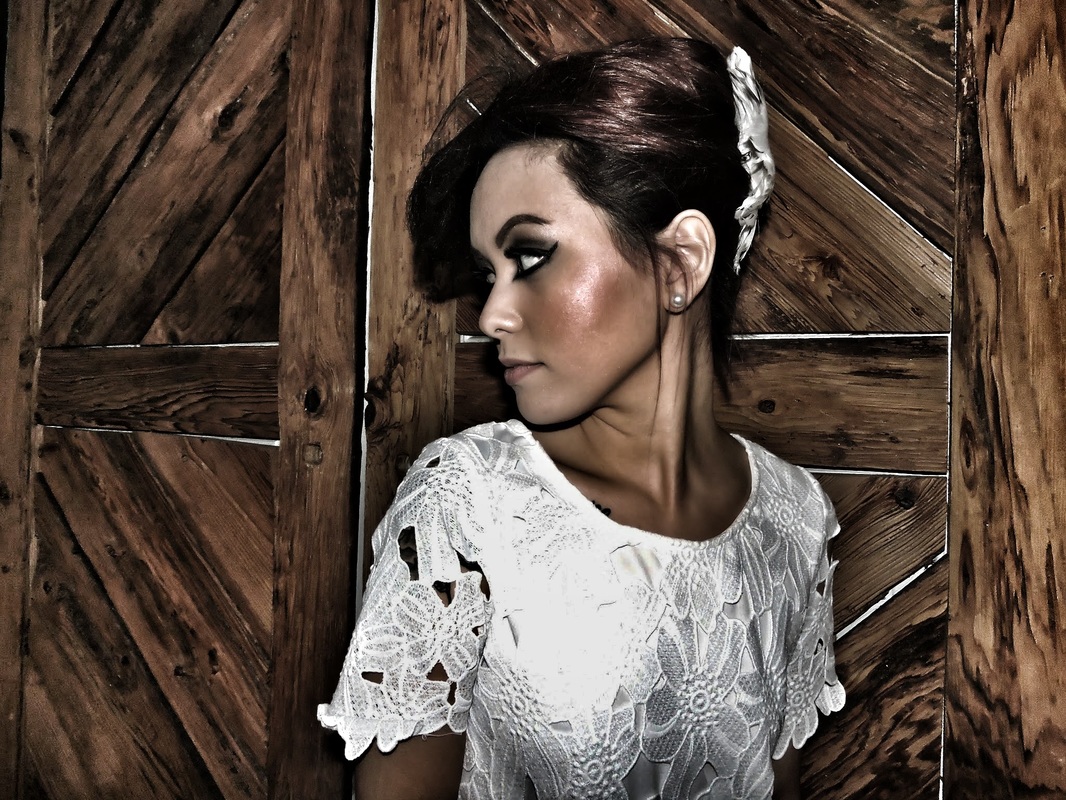
At Salon NOVA we are on our second round of the apprentice program. Our first apprentice Heather has graduated and is now a licensed cosmetologist and currently works at Salon NOVA as Kim Legassie's (Owner of Salon NOVA) personal assistant. Keyana and Tess are our current apprentices. They are almost finished with our program, and just about finished their hours. I am so proud of their hard work, personal and professional growth. As we are approaching the end of our Haircutting chapter we decided to do something fun and creative. We needed to break away from the structure and precision of haircutting and create something more abstract. I decided to have Tess and Keyana make a wig with yarn as an abstract haircutting exercise. We created these wigs by first mapping out what shape,style and color we wanted for our creations. Then we applied a wig cap to a manikin head. We had a variety of yarn colors and textures. We used a fast drying fabric glue, I left the application up to their own creativity. We discovered that we each had a different technique of application for this project, which was very fascinating. Below I have added a few photos of during our creative process. The Photo ShootBelow you will discover our completed wigs. Tess and Keyana are wearing the wigs they made. Tess was kind enough to be the model for my yarn wig creation. They each cut and fit the wigs to each other's heads to suit them properly. Tess's CreationTess created a diagonal forward bob shape with a full fringe. She used a combination of soft pastel tones.
Keyana's wigKeyana created a bob shape haircut with disconnection in the front wand an angled side fringe. She choose to use bold contrasting colors using a color blocking application.
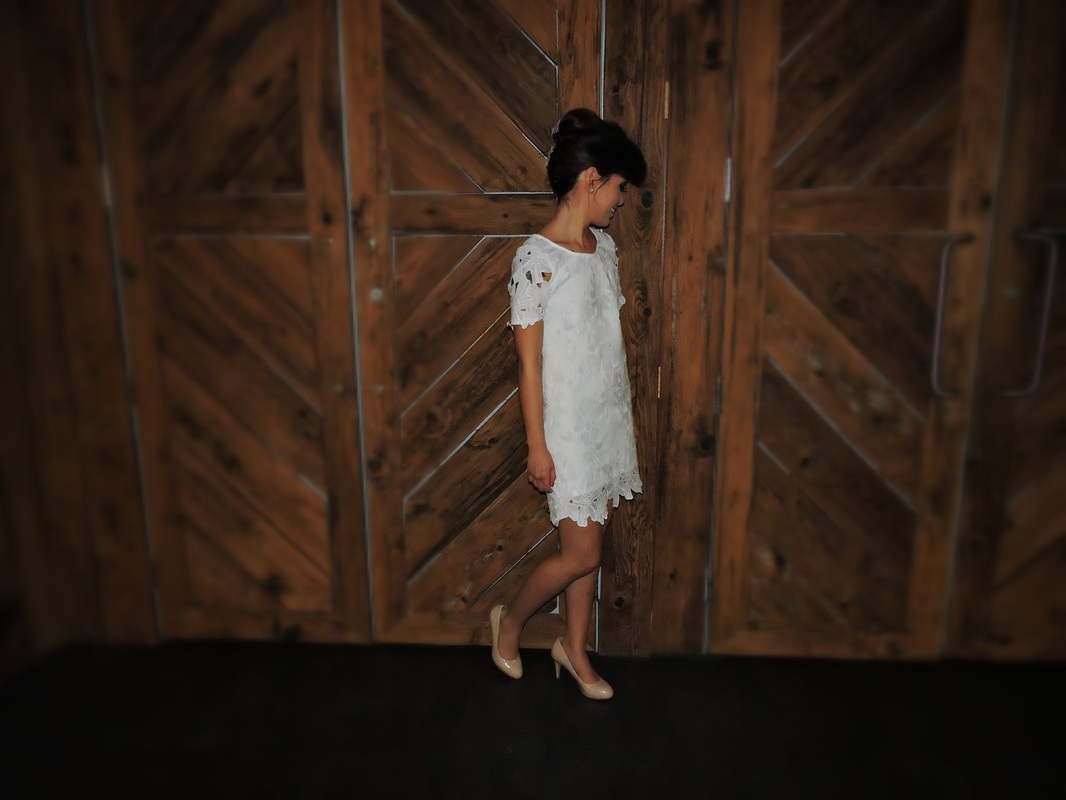
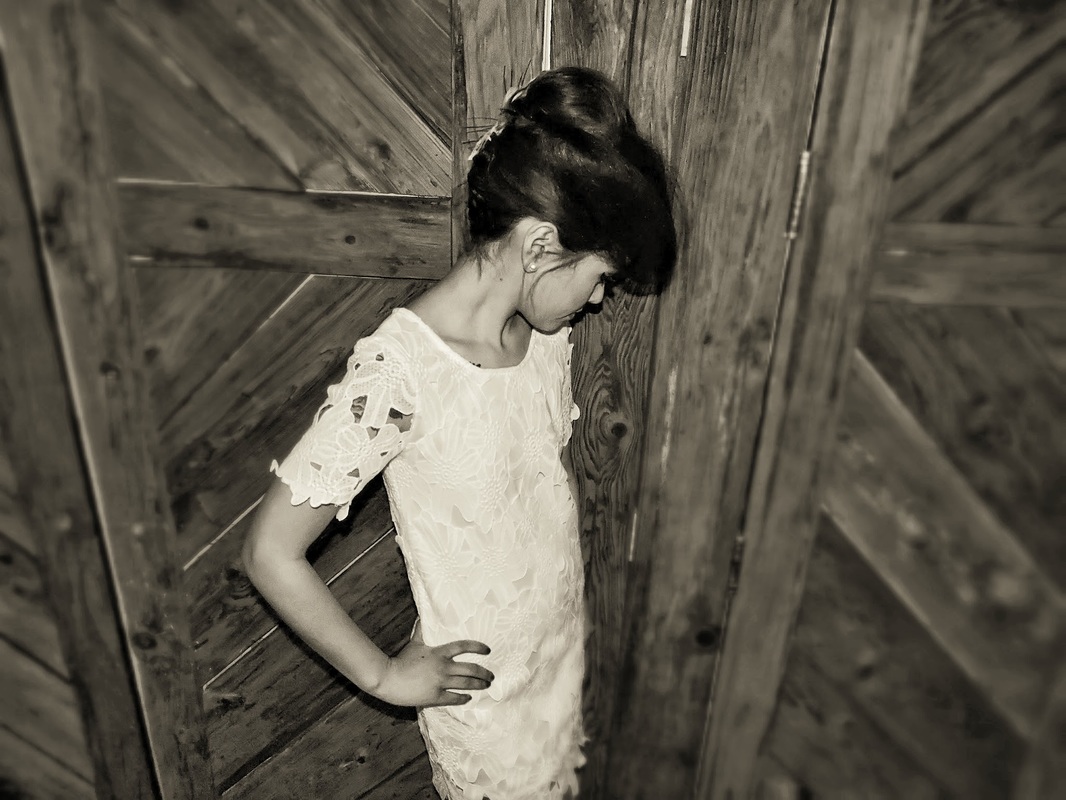
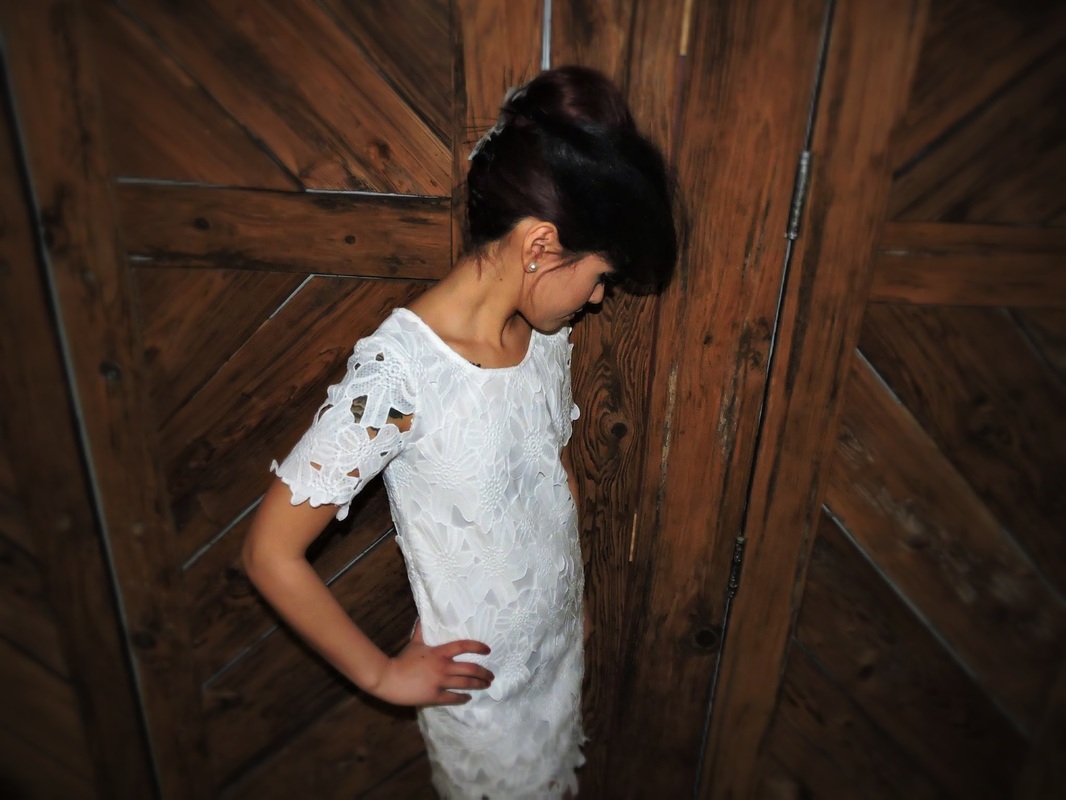
My WigI choose a asymmetrical bob shape with a full angled fringe. I used a variety of colors
Yarn never looked so sexy...
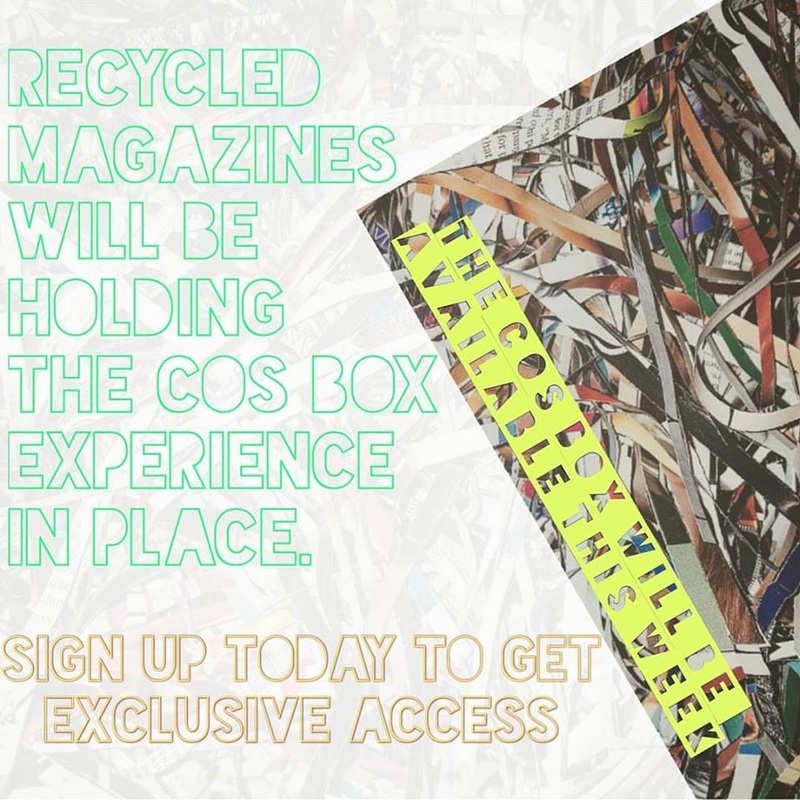
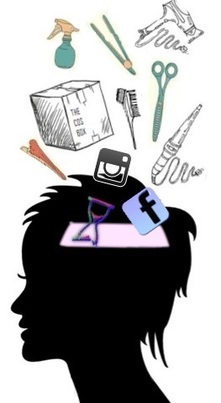
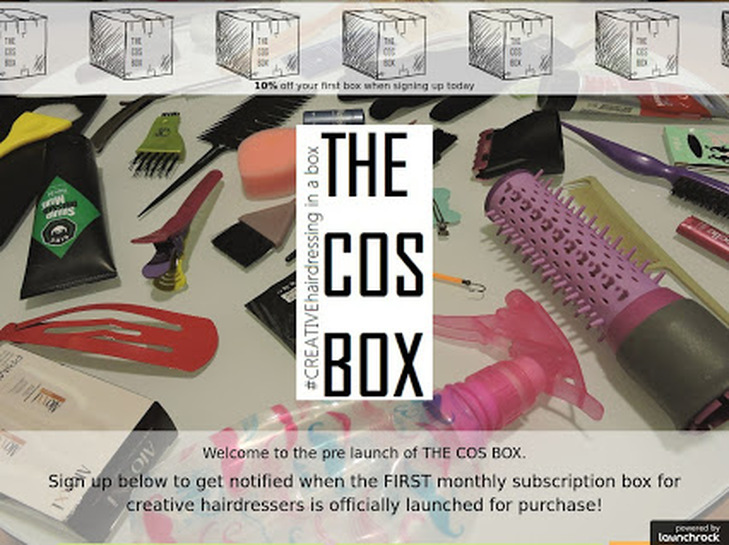 I have been developing this subscription box idea for some time now. It is a project that I am very passionate about. Today marks the day that I am sharing my idea with the world. I believe this niche is something the subscription box market has been lacking. I love receiving a surprise monthly box from ipsy, birchbox, julep, wantables and more. Yes I am a little obsessed with monthly boxes but who isn't? If you have the funds in your budget to receive boxes monthly, why not invest in THE COS BOX, to help you grow as a stylist behind the chair. If a box like this existed I would want it. I am creating THE COS BOX for passionate hairdressers out there that might not have the time to research new and fun items, but are eager to try on trend items this industry has to offer us. I am always looking for the latest and greatest and have a need to play with these items and share on my website, social media, with clients and with coworkers. I am constantly bringing in new things for us to try at our salon. If their was a monthly box that could give us multiple items like that, the possibilities are endless. please join me on this #CREATIVEhairdressing movement and sign up for THE COS BOX.
When I received my package from Casual Curl it included 8 rollers and clips to hold the rollers in place. I brought them to Salon NOVA and my first experience was challenging. Any time I use something new it takes me a few attempts to feel confident. I used them on medium to long length hair with layers. I love the concept they have created with the CasualCurl, they are very easy to apply to the hair, but I regret to say I ran in to quiet a few challenges on my first go around. I wasn't exactly sure how to determine if I've heated the hair up enough and when to release the blow dryer. I also found if i had the roller close to my clients scalp or skin the heat gets very hot so I was constantly holding my hand under the roller to protect my client from getting burned. I do like that the roller has a heat resistant area, but I found my self holding the roller on the opposite side. I was informed that the clips I received in my package weren't made for their roller but will help to hold in place for now until they create a clip that accurately secures the roller. As informed the clips helped, but they did not fit around the roller and also left creases in the hair.
When using the rollers I would apply all of them and then blow dry each one and then allowed them to cool. I have discovered they work best if you heat them up as you go and try not to use the clips. I also discovered that these roller are best used on lengths of fine to medium hair textures with minimum natural curl pattern unless the hair is as smooth a possible. On shorter lengths you will achieve more volume then curl. Also if you apply the roller in a vertical position you will achieve more length and curl, if you position them horizontally you will get more volume and width to your style. I believe the Casual Curl will work best for at home use on long lengths, and position your curl starting mid hair shaft. You can use these on all lengths and I encourage you to try the Casual Curl for you self and share you experience. Have fun! Stay creative! Keep learning! XO AG
Steps To create beach waves with a headband
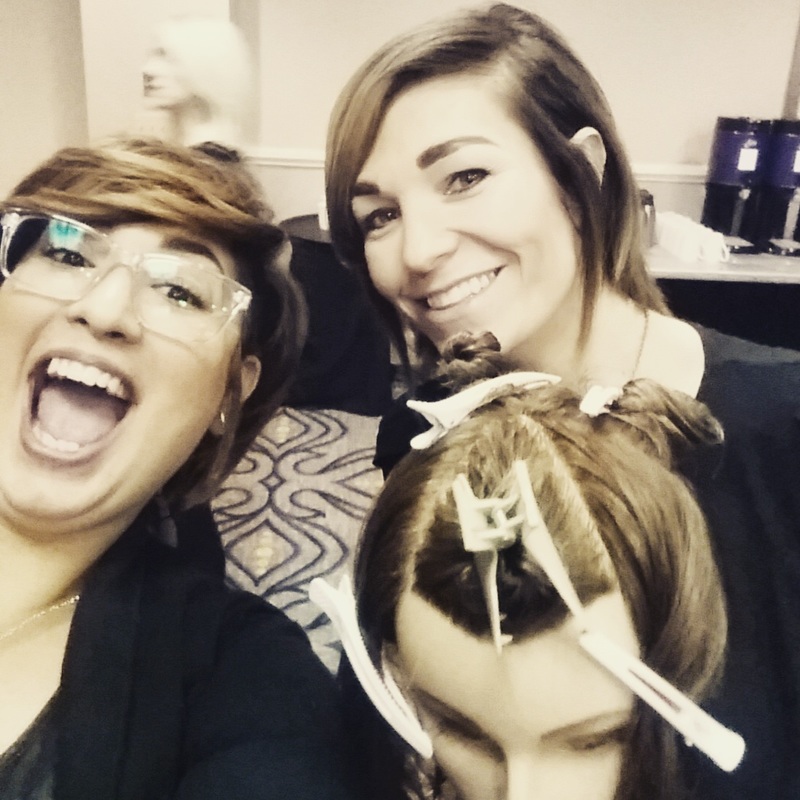
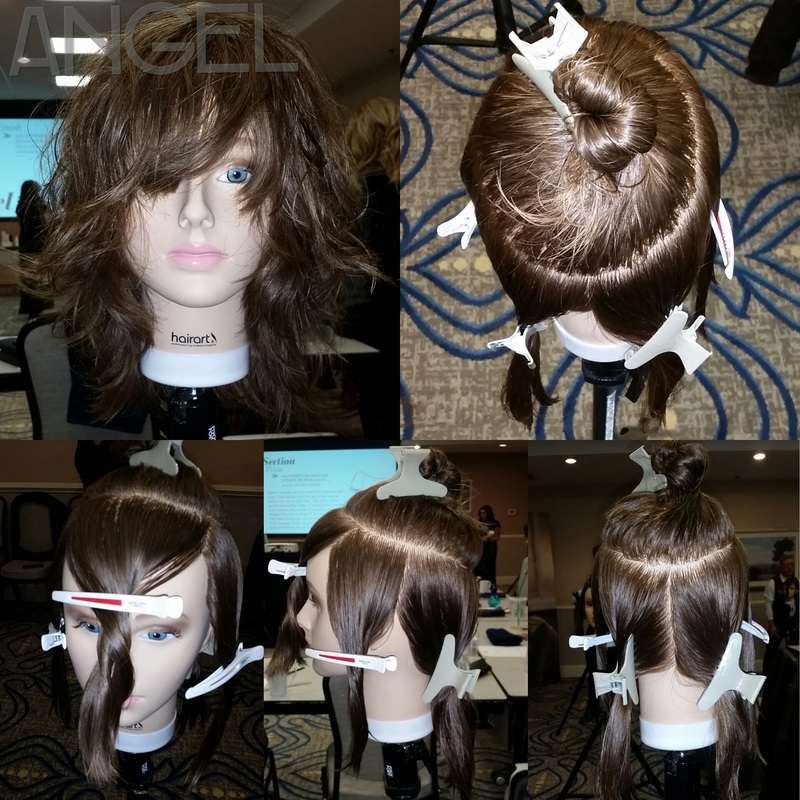
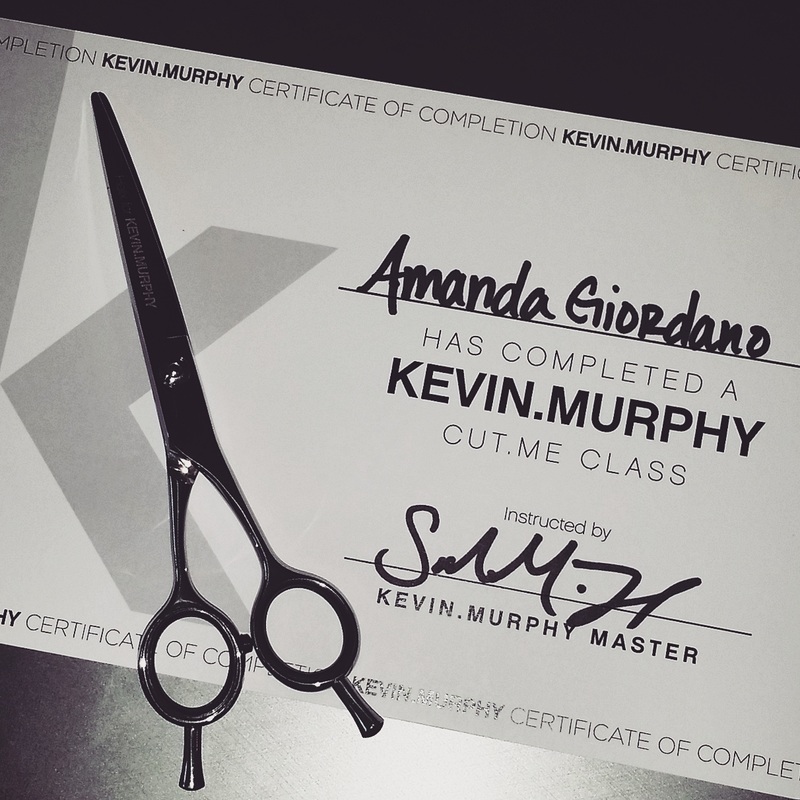
TIP: keep in mind the size of the headband and the size of your sections this will determine the tightness or looseness the curl will be. I got the pleasure of going to a Kevin.Murphy Cut.Me class with my boss Kim. It was so nice having a class close to home it was located at the double tree in Valley Forge Pa. This class was definitely and investment. We learned two very inspiring haircuts The BABE and The ANGEL, and invested in the Kevin Murphy's Helix shear. This shear is curved and reversible. This shear is very versatile anyone professional can use them left or right handed since they are reversible. Why is this shear different than others? The curve in the shear allows you to decide which direction you want the hair to kick, up, down, left or right. The curve cuts a crescent shape into the hair allowing the hair to have more movement when styled. We also learned a texturizing technique called "lacing". I've been discovering many ways to use these shears. If your interested is having your hair cut with these shears come see me at Salon NOVA.
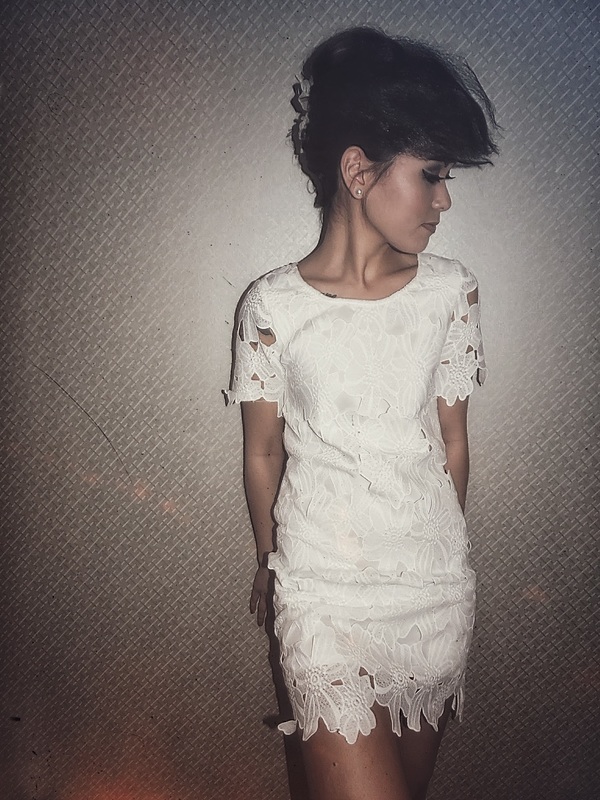
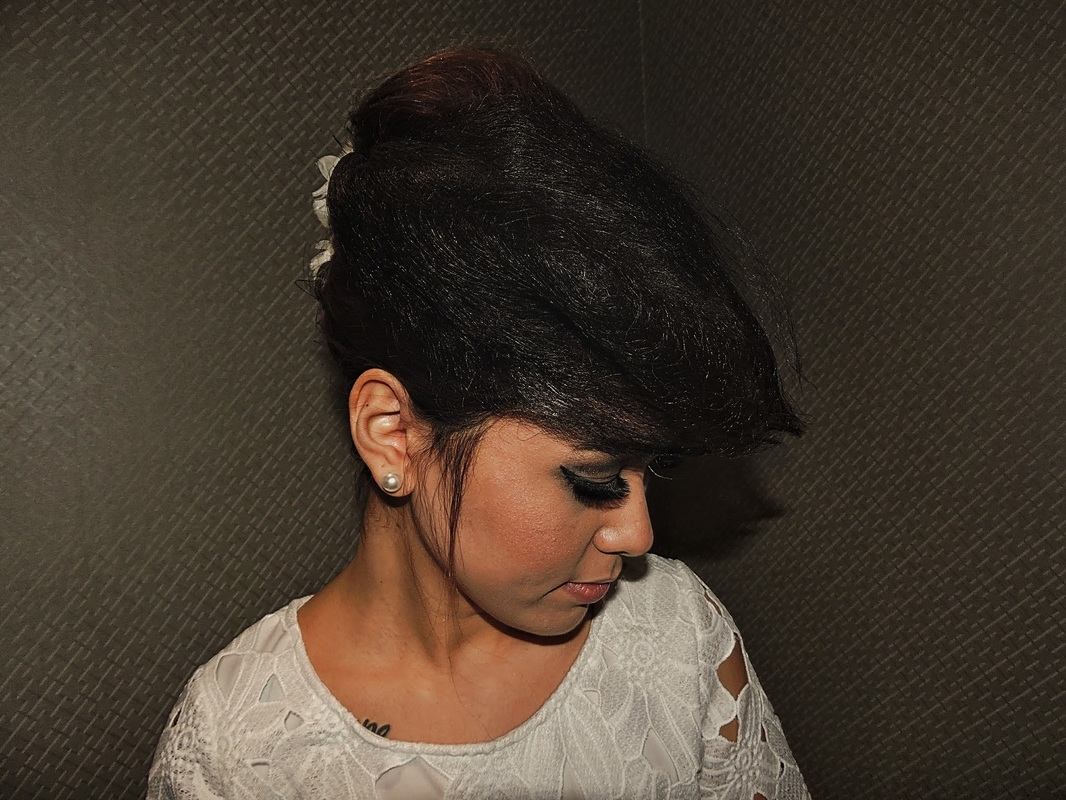
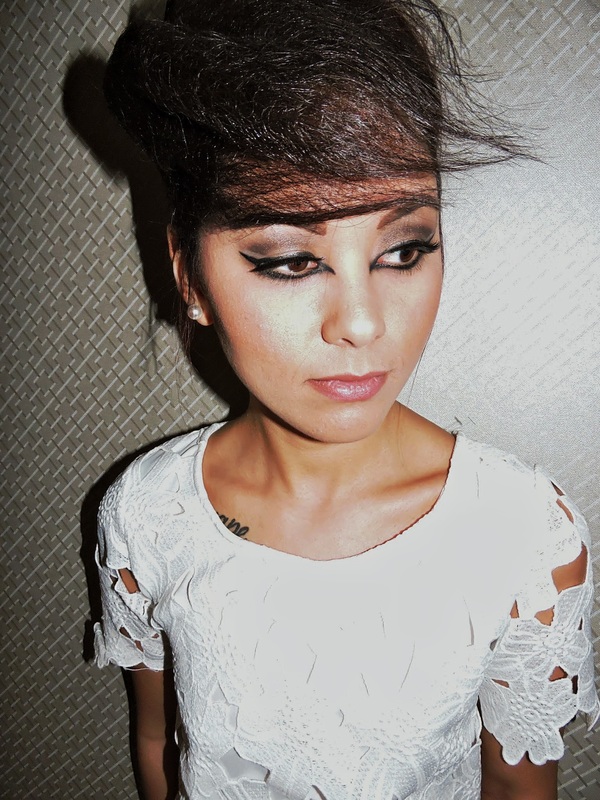
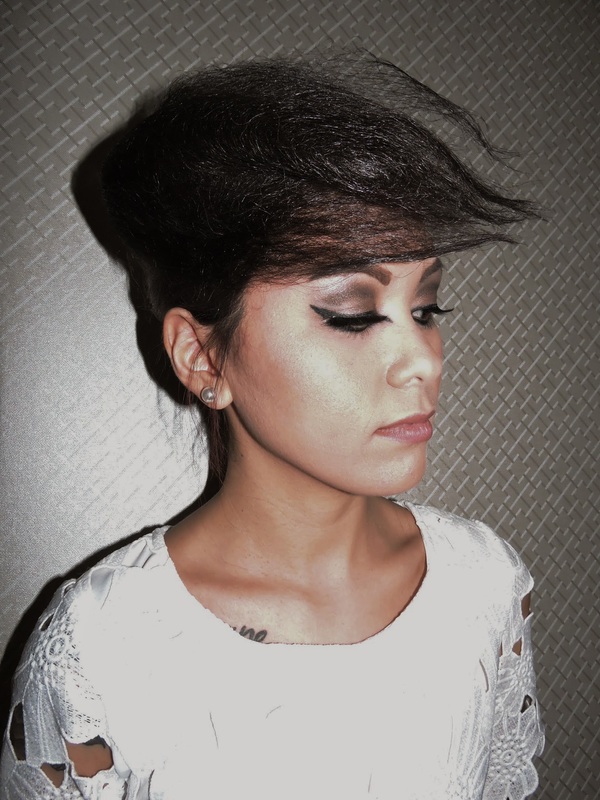
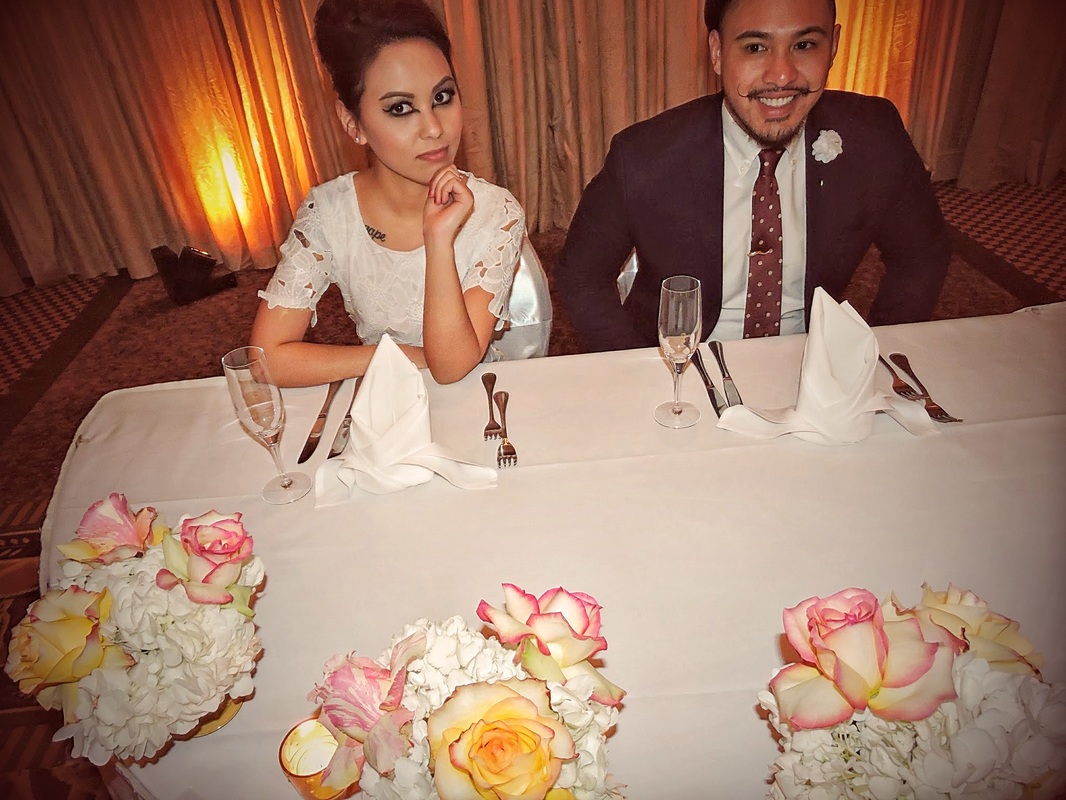
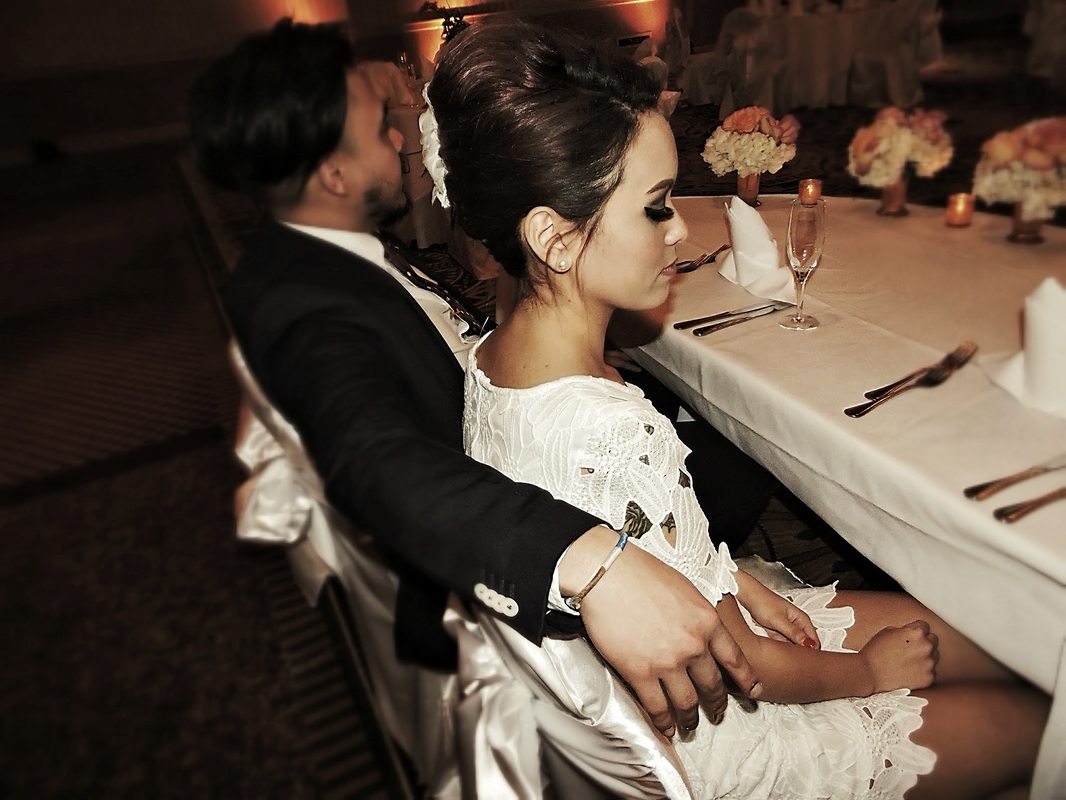
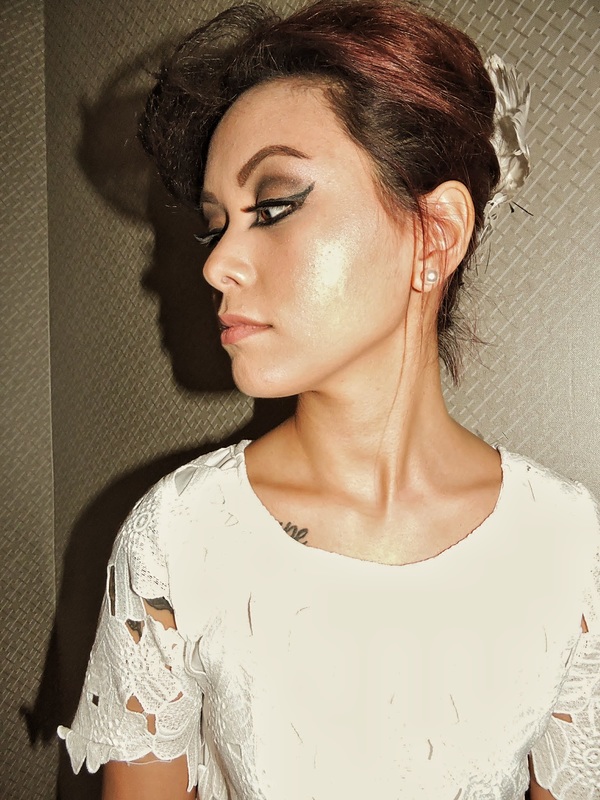
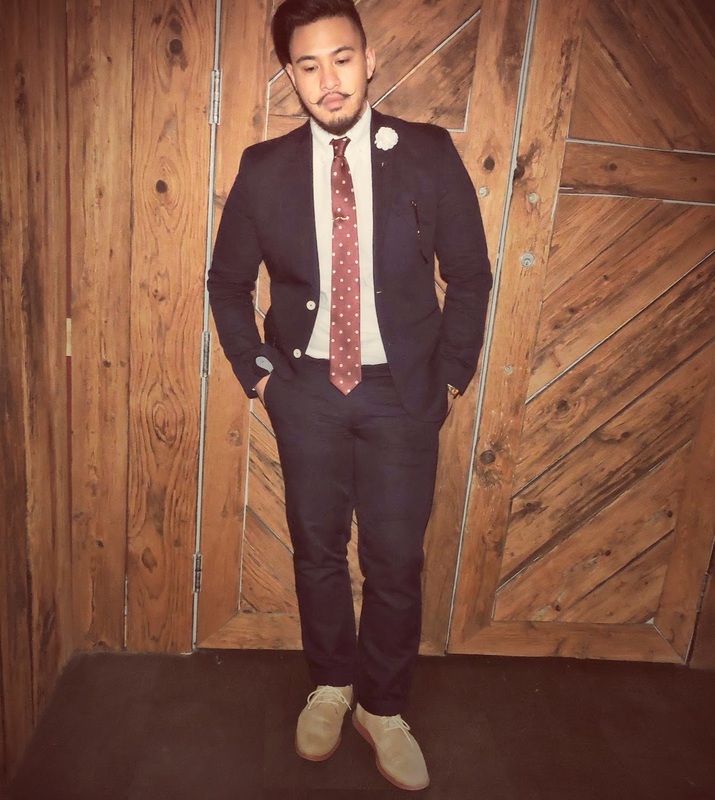
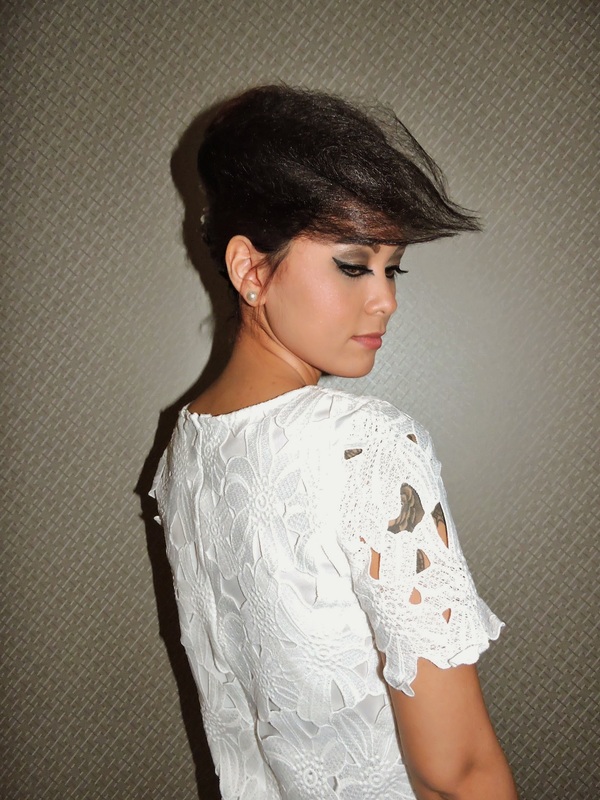
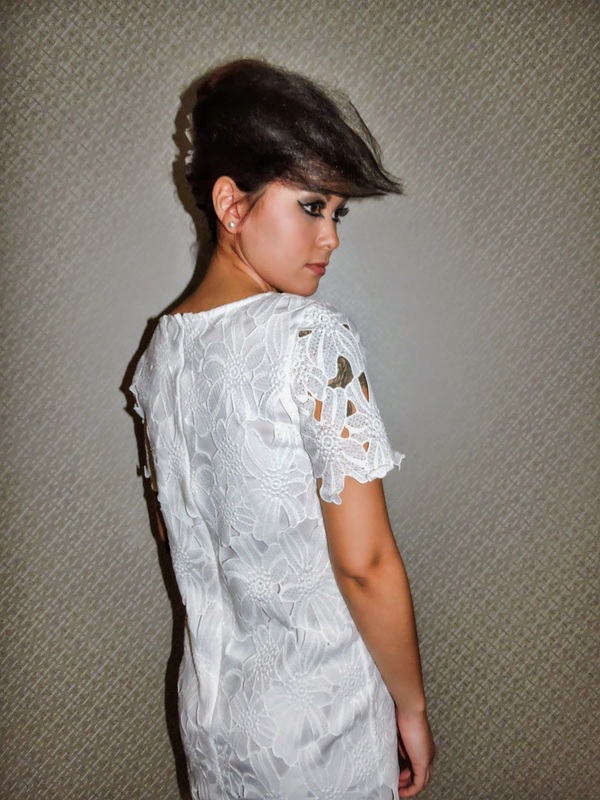
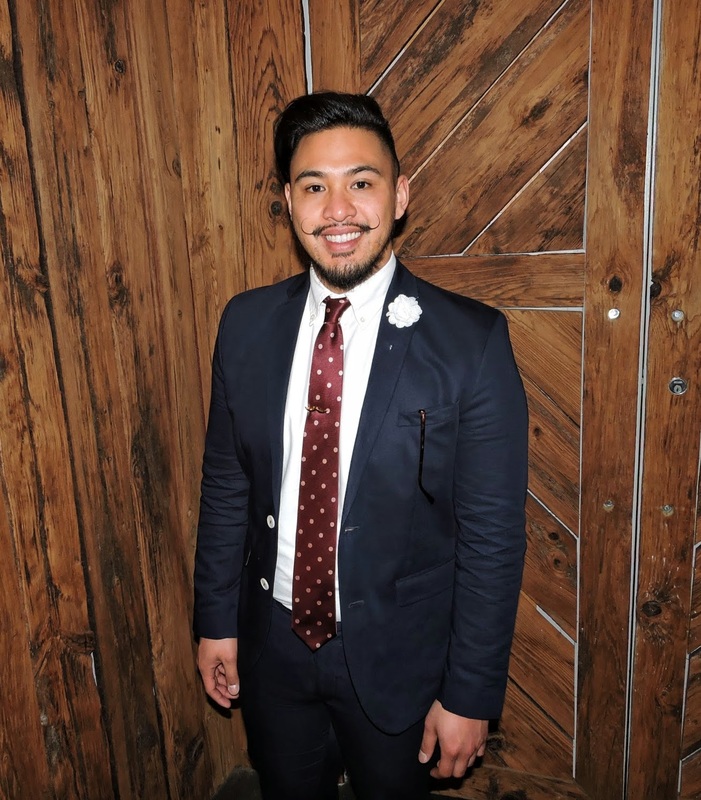
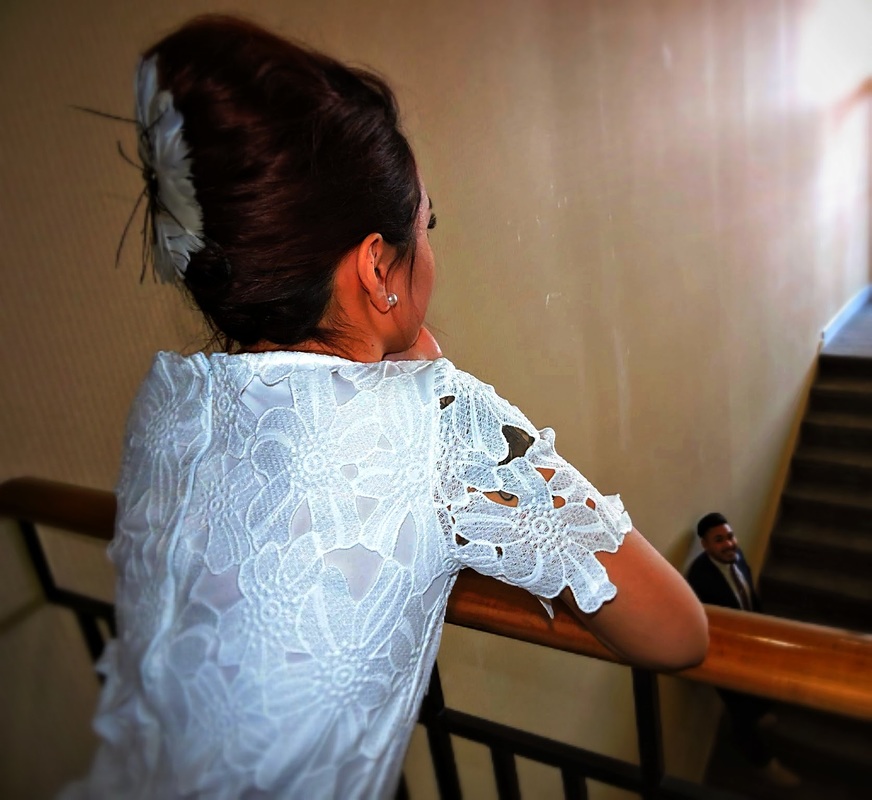
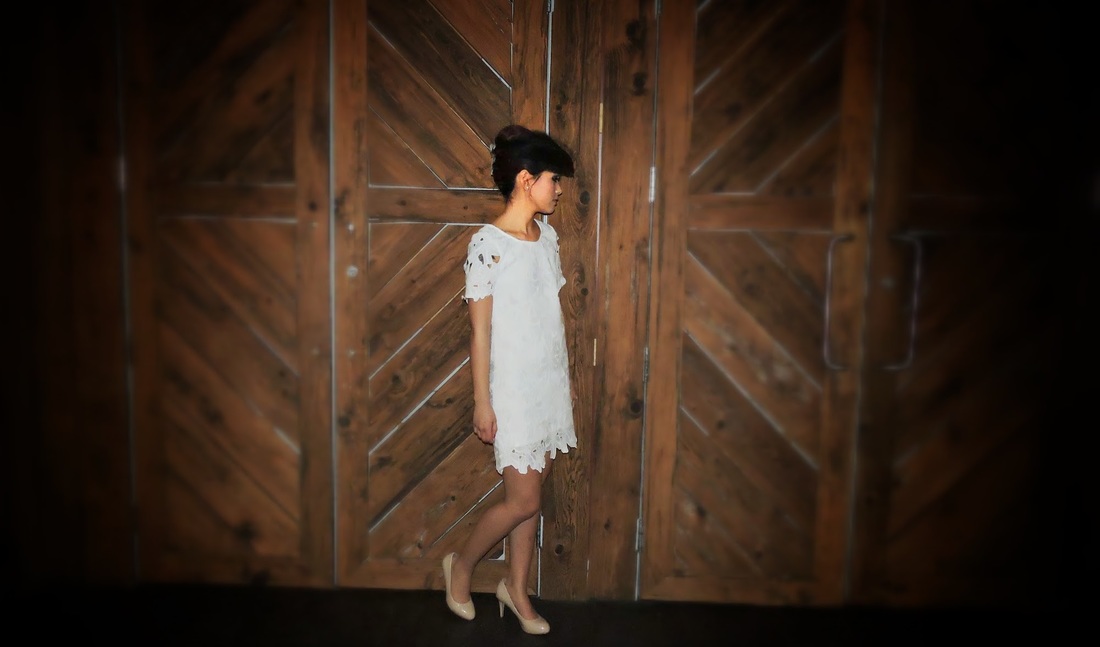
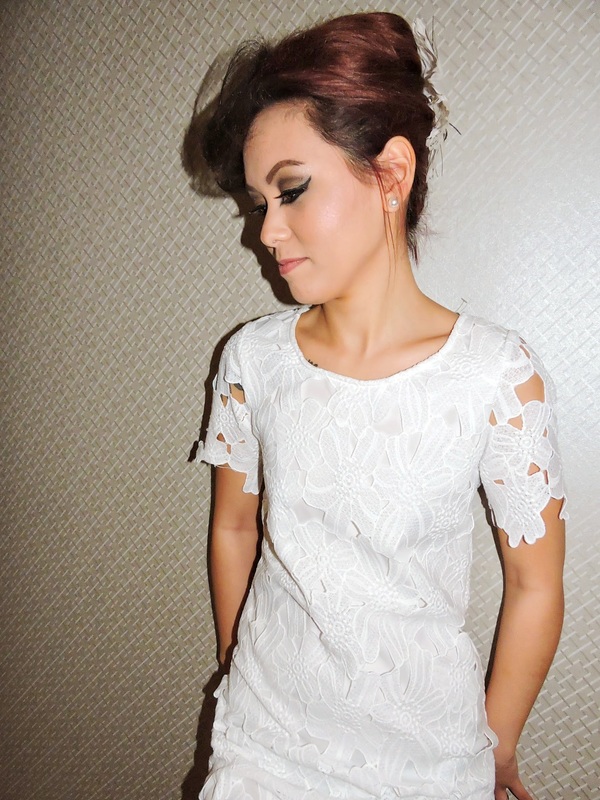
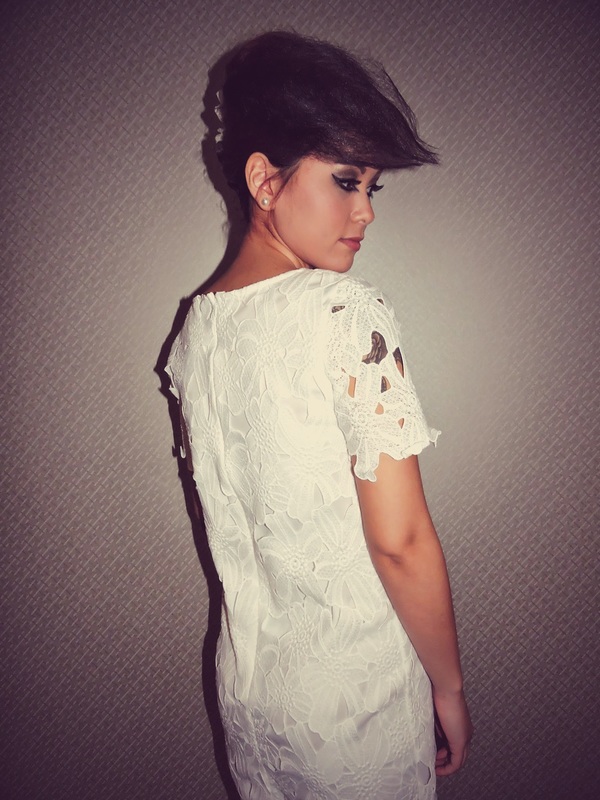
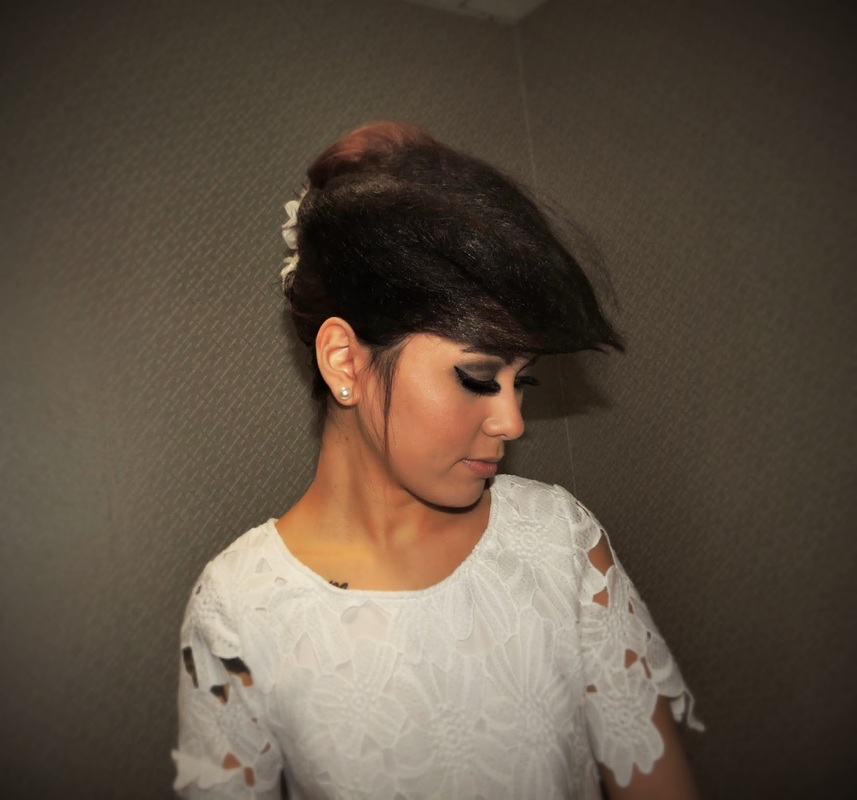
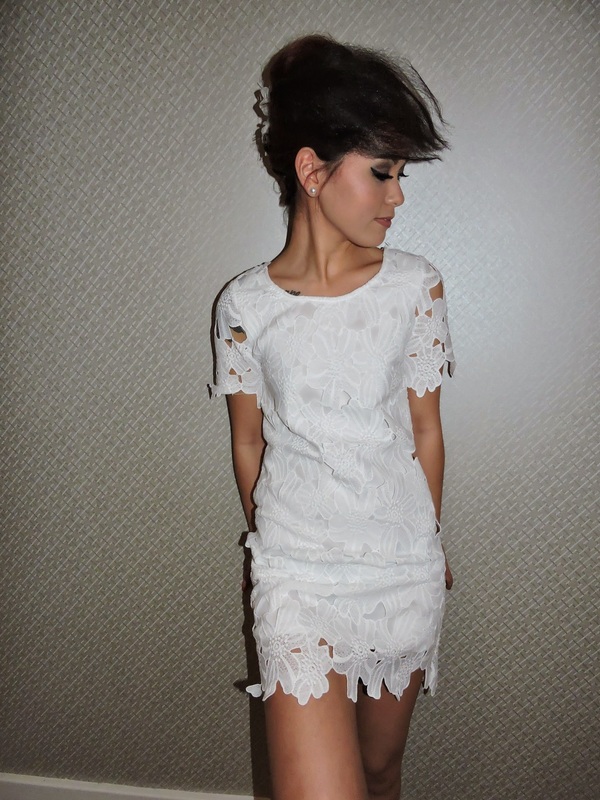
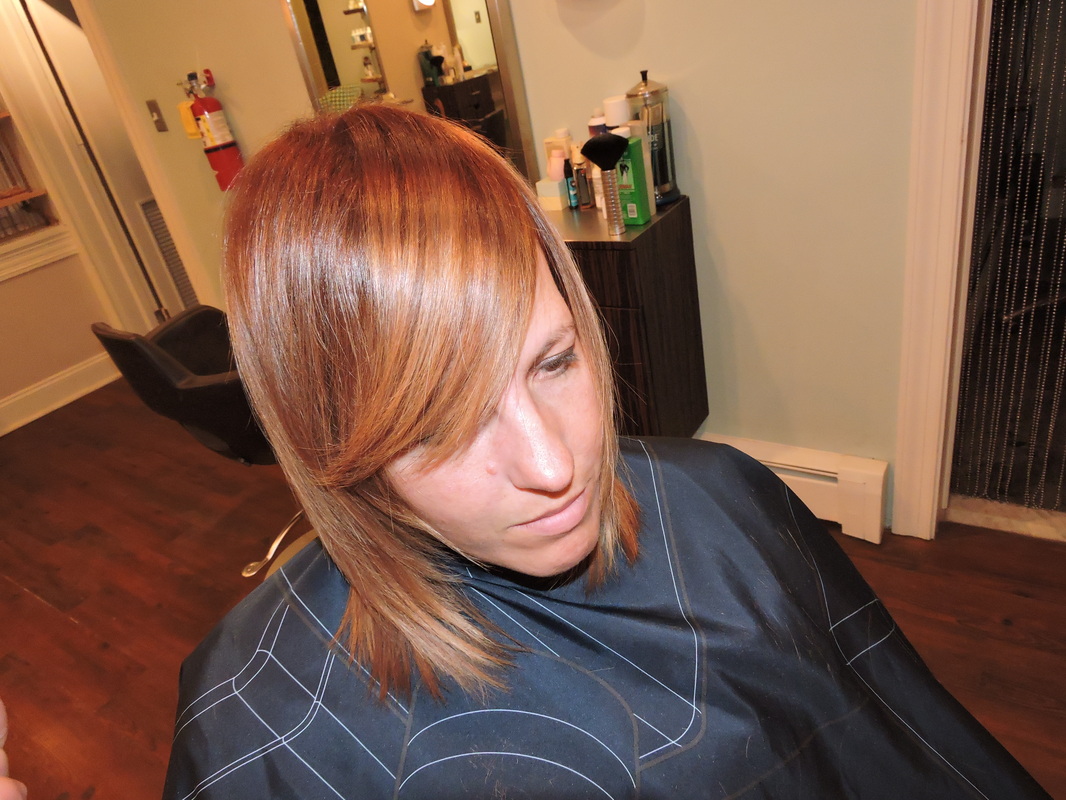
Have you ever attended a Bridal Show? This was my first experience. It gives brides the opportunity to source out different vendors for their wedding day. At this particular show there was an opportunity to win free services for your wedding day, a variety of different hor d'oeuvres and drinks, free stuff and of course our models. At Salon NOVA's booth we show case our work that we've created in past weddings, and special occasion hair and make up. We also had a basket raffle with lots of goodies. At Salon NOVA we offer bride and bridal party services in the salon or we can travel to your venue of choice. When you come to the salon for your big day we provide muffins, mimosa, cold and hot beverages. If your interesting in coming to see us for your wedding check out SalonNOVA.net for more info. My Bridal and special occasion work can be found on all of my social networking sites, salonnova.net, and my gallery. This bridal show gave me a fun photo shoot opportunity. One of my Co workers Keyana and my boyfriend Justin were available to be models. Staged as bride and groom, a great way to express our talent in men and women services. On Keyana's hair I was able to get a bit weird and interesting with her style. We call this "the modern day comb over" Her hair is chin length. I was able to put her hair up into a french twist. I added a very avant garde piece made of hair to the front to replicate a birdcage and added a pretty white flower to the back. Keyana's makeup was done using The Balm and Youngblood cosmetics. Justin's hair was very simple to style. I cut his hair a few days before. On the day of the event Heather blow dried his hair and applied Kevin Murphy Rough rider. Enjoy the photos below. creating "the modern day comb over"
Products used : R & Co outer space flexible hair spray, Kevin Murphy powder puff, R & Co Vicious Strong hold hair spray.
As the warmer seasons approach us we all crave a little change. If you'd like to throw in a few lighter brighter pieces through your hair. Wella Freelights can be applied while your single process is developing, blend in you color that has grown and so many more possibilities. If you'd like to schedule a Balayage appointment visit SalonNOVA.net. To learn more about Well Freelights visit Wella.com |
agFor the LOVE of hair and the beauty industry. creative hairdressing movement Archives
December 2016
Categories
All
|


 RSS Feed